How to Create a Workflow Diagram in Visio?
1. How to Create a Workflow Diagram in Visio?
Workflow Diagrams visually layout any organizational process; the graph depicts the process from start to end. Once the initial research is conducted, a workflow diagram is designed to implement the process. To have a complete understanding of how the Workflow diagram works, let's look into its main components first.
1.1 The Components of Workflow Diagrams
- Start/End: This shape represents the Start/End of the process; it is used at the beginning and last step of the process.
- Process: A rectangle shape represents the process; it depicts the steps involved in the process.
- Decision: The decision is a point where the consequences of the decision tell the next step, the results could be multiple, but more often, there are just two "Yes and No."
- Sub Process: When the process is complex, or the process is long, then the diagram also has sub-processes. This shape is used for the steps that combine to make a sub-process.
- Sub Process: When the process is complex, or the process is long, then the diagram also has sub-processes. This shape is used for the steps that combine to make a sub-process.
1.2 Workflow Diagram Visio Tutorial
Microsoft Visio is an excellent diagramming tool; many companies widely use the software to document their complicated and straightforward processes. The software offers many features, including shapes, connectors, objects, and stencils, using which one can design a perfect workflow diagram. Now let's begin to learn how to create a workflow diagram in Visio.
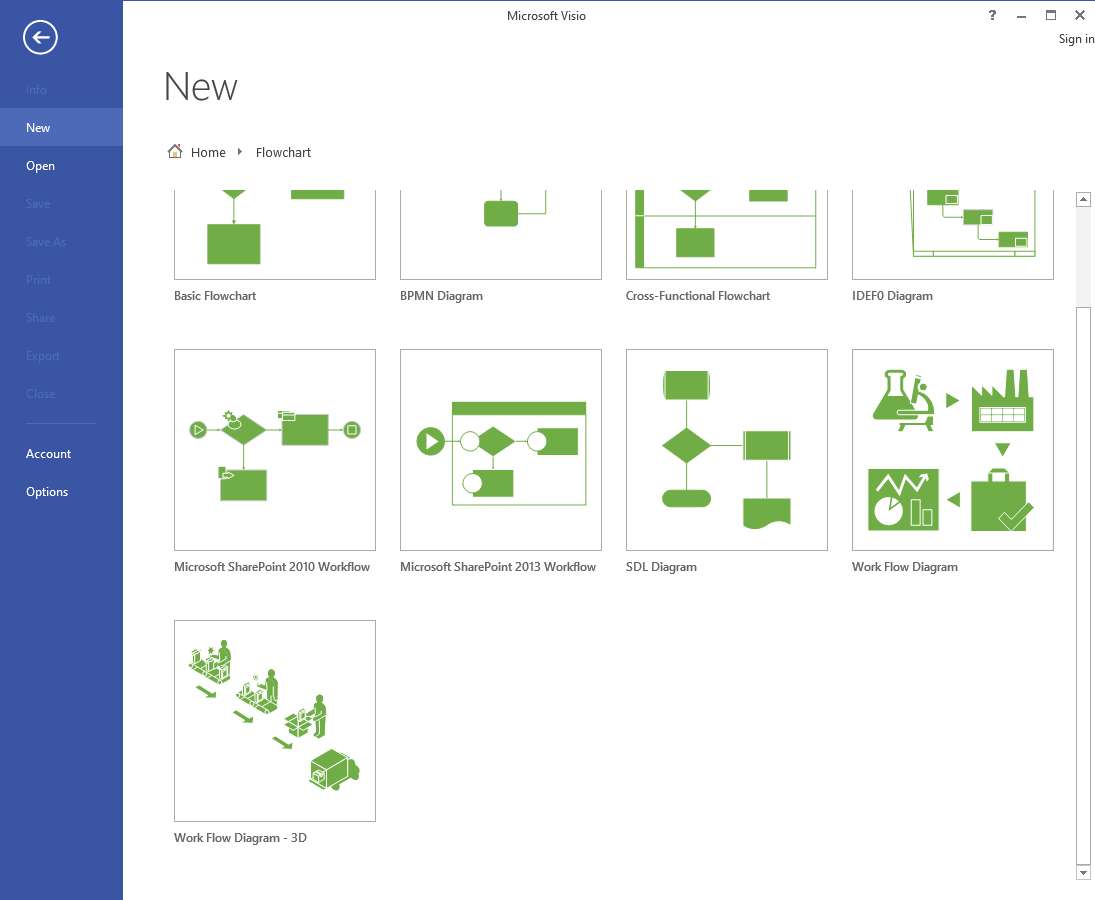
Step 1: Launch the Microsoft Visio
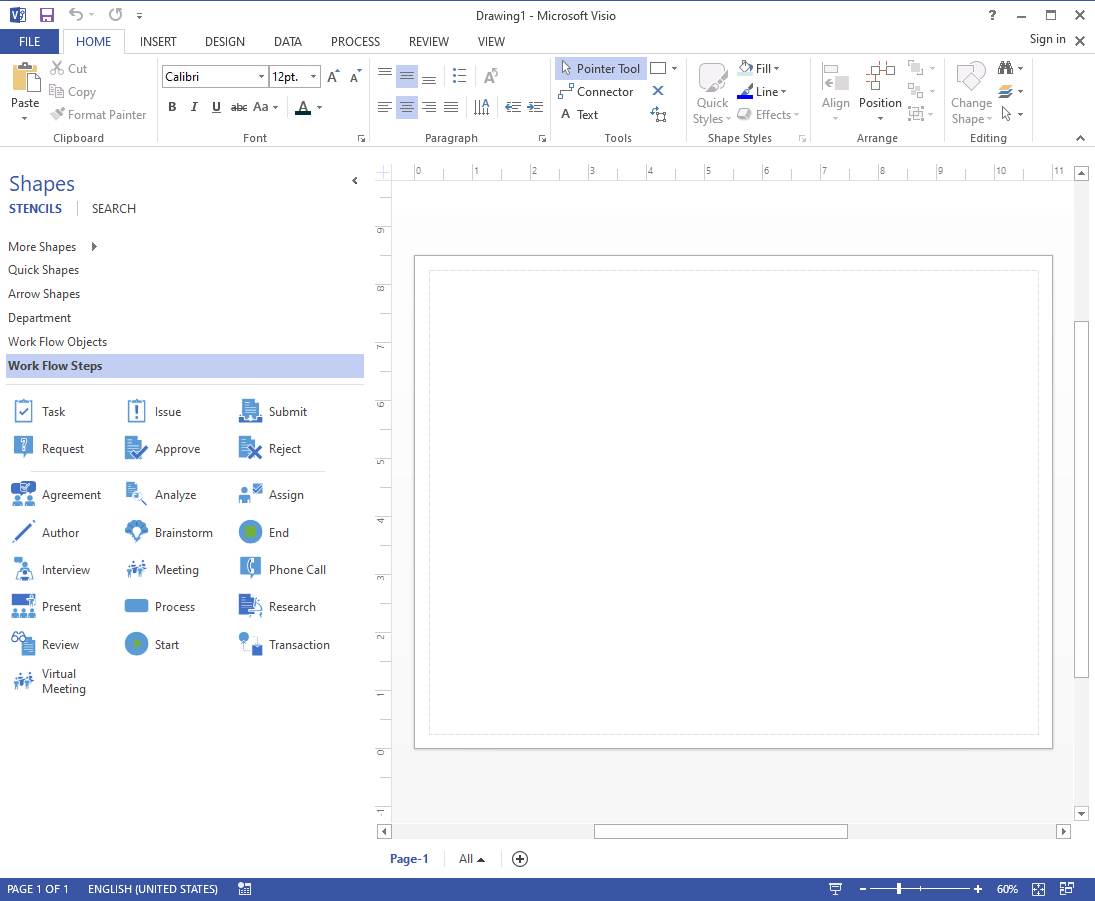
Click on the Flowchart category. Choose the "Basic Flowchart" and then press Create. In the Shapes tab, click on the "Basic Flowchart Shapes." From the Basic flowchart shapes, drag the start/end shape to your drawing canvas.

Step 2: Build with Shape Stencil
Drag a flowchart shape onto your drawing for each step in the process you're describing. Connect the flowchart forms by hovering the mouse pointer over the first shape and clicking the small arrow that appears, pointing to the next shape. Click and hold the small arrow, drag it to the shape you wish to connect, then drop the connector in the center of the second shape.

Step 3: Format the Diagram
To customize the line or arrow, go to the line option available in ribbon, then you can increase its width and change the color. To label a shape or connector, select it and then type on it; once you are finished, click on a blank area of the drawing canvas. Work on your diagram and shapes, connectors, and text as per the requirement of the process; once the process is documented, you can export it to your computer.
2. How to Make a Workflow Diagram Online Easier?
Designing a workflow diagram in Microsoft Vision is complicated, and it would be time-consuming if you are using this software for the first time, you will need to know the tools of the software first to design the diagram. EdrawMax Online can resolve this problem. The application is easy to use because of its user-friendly interface. Thousands of pre-designed templates are available, and you can customize them according to your process requirements.
Step 1: Select the Workflow Diagram Template
Launch the online application of EdrawMax, and click on the "Flowchart" in the navigation pane located on the left side of the interface. Click on the workflow option. You will find some pre-designed templates you can choose from any of the templates that perfectly fit your process. Alternatively, if you want to design the diagram yourself, choose a blank canvas to begin.

Step 2: Use the Symbols
Add symbols to your diagram from the symbol library, click on the icon available next to the symbol library, a pop-up window will appear, click on workflow, then click Ok. Now you can use the symbols, connectors, and other stickers to give your diagram a visual look.

Step 3: Customize the Diagram
If you have chosen the pre-designed template, you can edit and customize your diagram from the navigation panes on the side of the screens. Using exciting formatting tools in EdrawMax, you can give your Workflow diagram a great look. Edit every little detail of the diagram, the size, fonts, color, and shapes as per the requirements of the process.

Step 3: Export a Document as a Visio File
Once you design your workflow diagram, export it to the desired format into your computer. You can even export your Workflow diagram in Visio file format.

3. Workflow Diagram Visio Examples
Let's explore some workflow diagram examples, and you can get inspiration from one of the templates below.
Example 1: Workflow Chart
This workflow diagram for process improvement is an excellent example to understand workflow diagrams better. Here you can see how multiple steps are involved connected one after another to investigate the progress of the process.

Example 2: Process Workflow Diagram
This example is a process workflow diagram for probate proceedings. To better understand the process, it's a best practice to document the Probate process in a workflow diagram. Here, in this example, you can see how a city court supervises identifying an individual's property, its bad debts, heirs of their property. A complete time frame of the investigation is also mentioned.

Example 3: Business Workflow Diagram
Managing the supply chain is a crucial part of any business; the employees of the different departments work to achieve the organizational goal, which can be done if everyone is aware of their tasks. Here, the Business workflow diagram works. This example shows that raw material is procured from the supplier; when the material is received, it is immediately sent to the manufacturing department. After the production quality assurance tests, there comes the packaging and distribution. On the other hand, the marketing campaigns of that finished product are going then finally, the end product reaches the customer's doorsteps, and then after-sales services are being provided.

4. Online Workflow Diagram Maker
Now you are entirely familiar with the workflow diagram, it's time to decide which diagramming software to begin with? We have already discussed EdrawMax Online above. EdrawMax Online is a free online tool that you can use to create a workflow diagram for any process; you can access the software on any browser like Windows, Linux, and Mac. Let's look into its unique features and diagramming tools.
The software has many exciting and unique features, more than 50,000 symbols, and remarkable shapes. Using EdrawMax, you can create more than 280 different diagrams, you can browse its extensive range of pre-designed templates, and can edit them as per your process needs. You can export your file on multiple platforms, including PNG, PDF, VSDX, SVG, etc.
5. Key Takeaways
Workflow Diagrams are used in companies to assist their staff in understanding their jobs and the sequence in which tasks are accomplished and bring departments closer together. Workflows are now utilized by many industries, including government, finance, and commerce, and are easier to develop than ever before. Hence before implementing a process, it's necessary to document it in a workflow format using an excellent diagramming tool. We have already seen Visio, but the software is complicated to use, especially for beginners; EdrawMax Online is a feature enriched software that will ultimately assist you in creating an effective Workflow diagram for a process.


