How to Make a Brochure on PowerPoint
A brochure is a paper advertisement used to generate awareness and spread information about marketing. Brochures can be in the form of a leaflet, pamphlet, or booklet. Today, we will tell you how to create a brochure on PowerPoint without any hassle. This how-to tutorial will teach you the basics of making an attractive brochure quickly and easily.
How to Make a Brochure on PowerPoint
Follow this step-by-step guide to learn how to create a brochure on PowerPoint.
Step 1: Open a blank presentation on PowerPoint
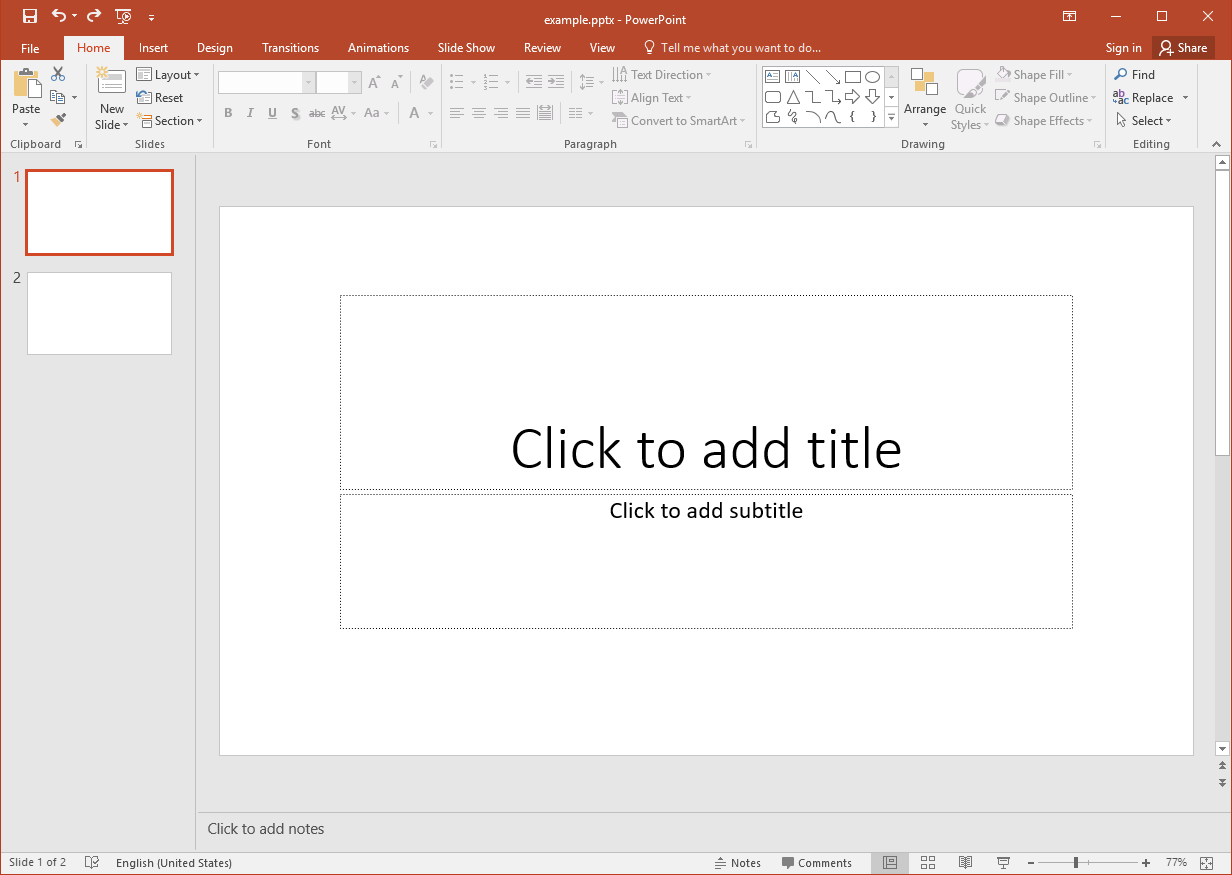
Open your PowerPoint and start to make a brochure from scratch because there is no pre-made brochure template in MS PowerPoint. Open a blank presentation and remove all the text boxes and placeholders from the slide to get a blank layout.
Step 2: Insert a table
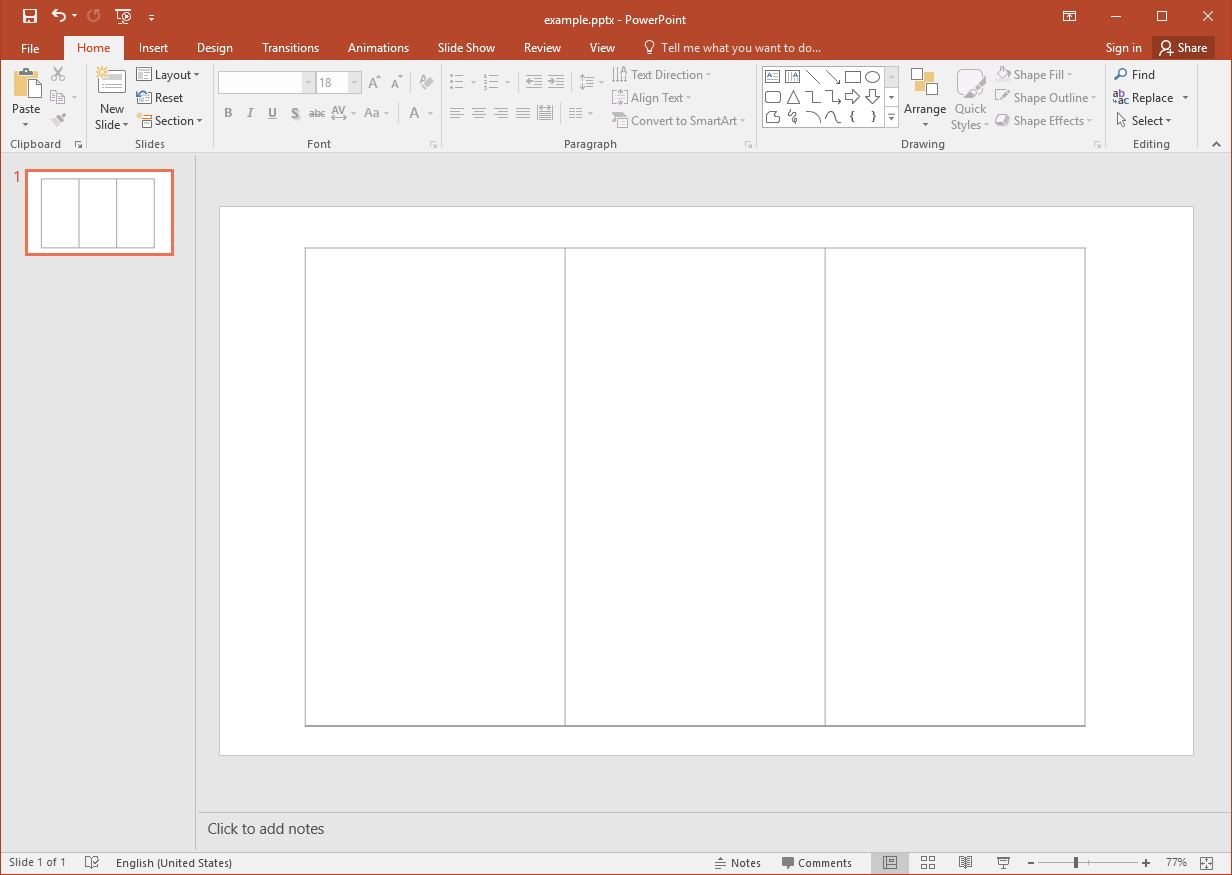
Go to the Insert tab and select a table of “3x1,” i.e., three rows and one column. Resize the table to fit the slide by dragging the corners. Make sure you leave around 0.5 inches of space for margins. You can set the table on specific measurements using the Table Size option under the Table Tools Layout tab.
Then you can also change the table color under the Table Tools Design tab.
Step 3: Create a Duplicate Slide
Create a duplicate slide, then slide one will be the front of your brochure, while slide two will be the back. It would be best if you did this because the typical brochure is usually tri-fold like the below one. Or, you can skip this step if you want to make another kind of brochure.
Step 4: Edit your brochure
If you selected a PowerPoint brochure template, you could customize it by adding images and graphics. You can add pictures from your gallery by clicking on the Pictures under the Insert Tab. You can resize the images by dragging the corner and edit them by selecting different options under the Format tab.
Step 5: Add text boxes
Add text boxes onto the slides and start typing the information you want to share on the brochure. You can bold the headings and put essential notes in Italics, highlight the text, and change the font style and size.
Step 6: Customize your brochure
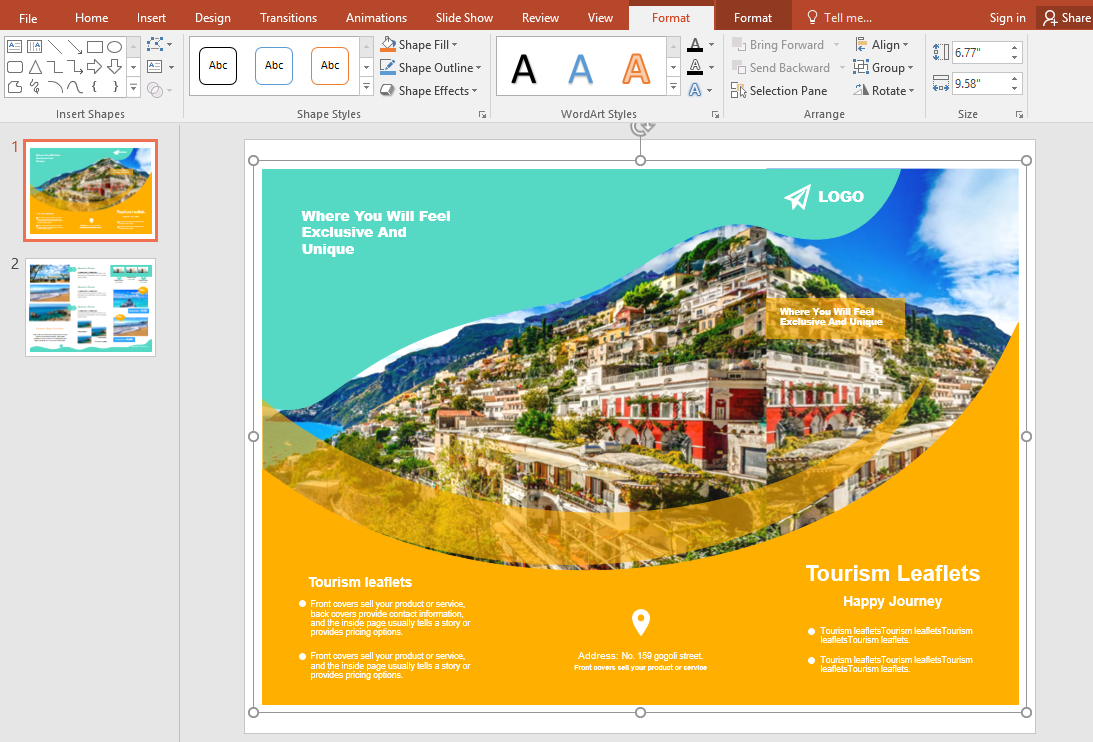
Arrange the images and text according to your aesthetics and personal preferences. Keep designing the brochure until you are pleased with how it looks. Here is a brochure that is made in PowerPoint.
How to Make a Brochure in EdrawMax
EdrawMax Online is a more convenient and versatile option for designing brochures as compared to PowerPoint. EdrawMax Online has a wide range of free, editable and printable brochures templates for users.
Besides, EdrawMax Online allows you to export Edraw documents as MS PowerPoint files and save documents in Google Drive and Dropbox. You can follow this step-by-step guide to create a stunning brochure using EdrawMax Online.
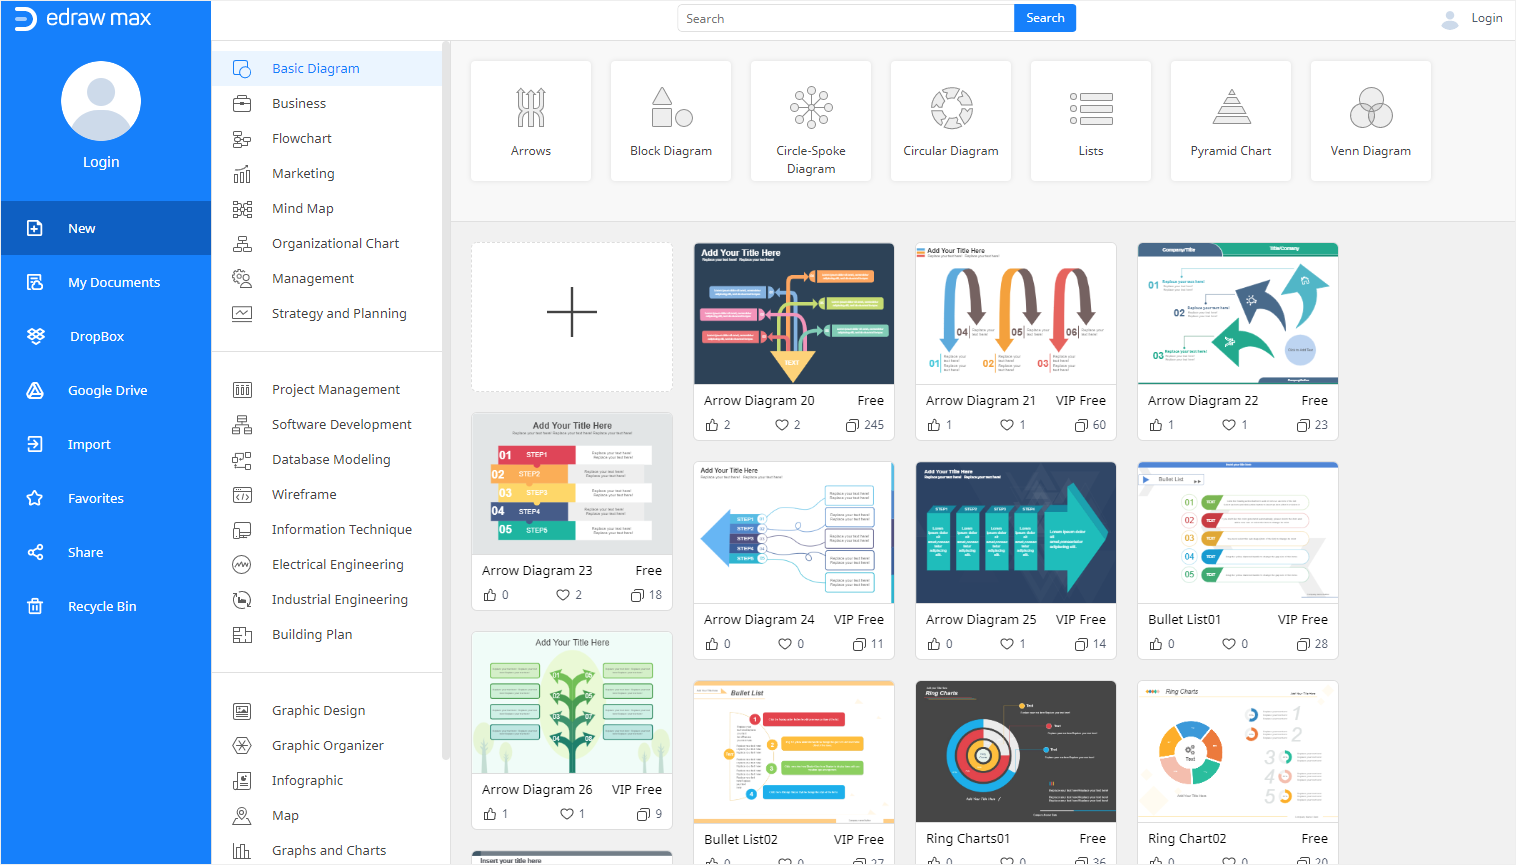
Step 1: Open EdrawMax Online
Sign up for an Edraw account in a few simple steps if you don’t use EdrawMax before. When you succeed in logging to EdrawMax Online, you can use EdrawMax Online for free.
Step 2: Select your template
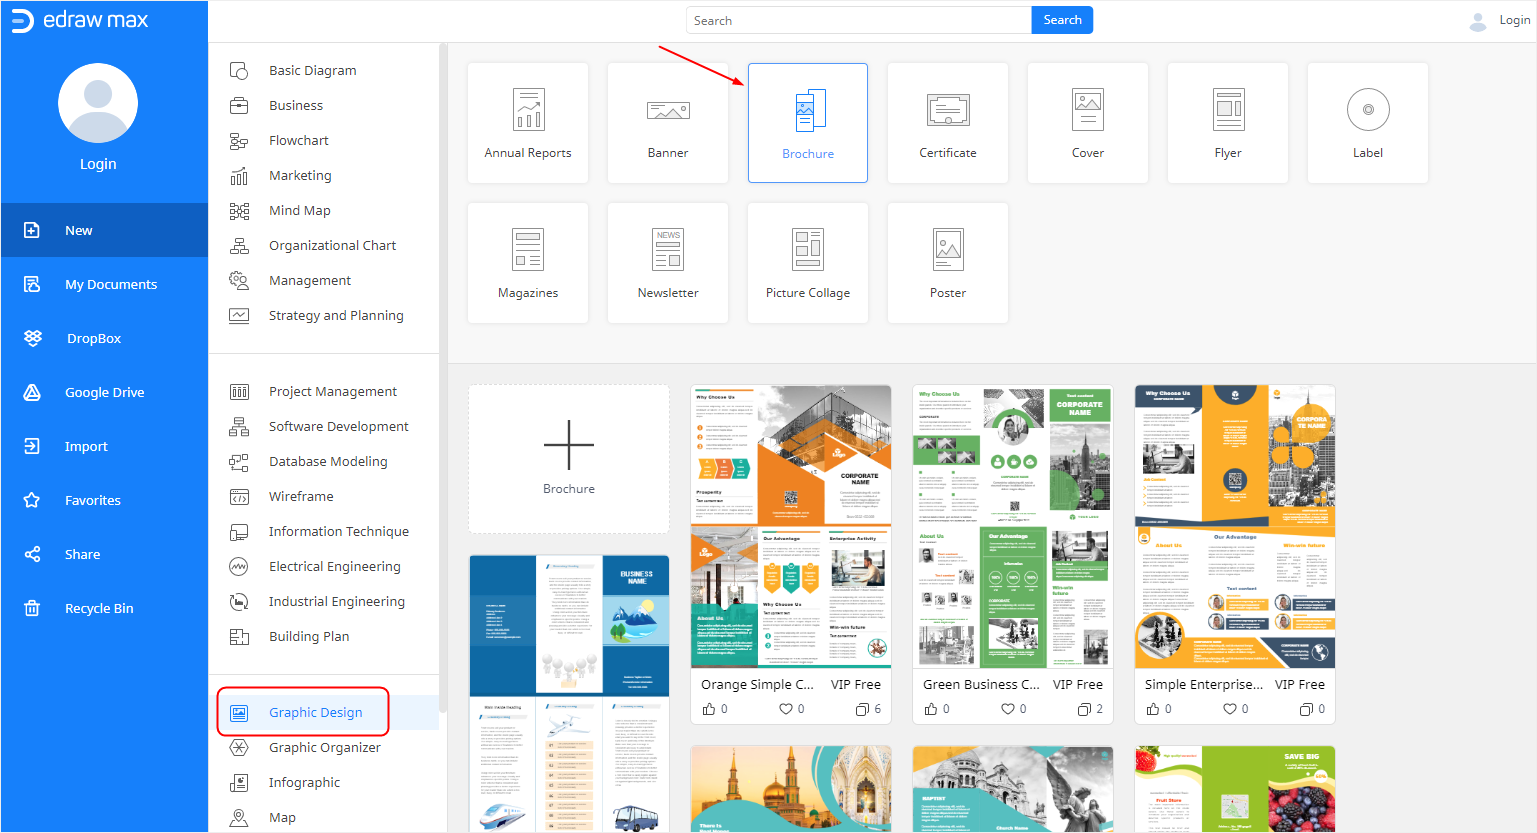
Similar to brochure PowerPoint, you can design a brochure in EdrawMax by selecting ready-made templates or by creating it from scratch. Select a template of your choice from Edraw free brochure templates or click on the blank page option. For now, we will choose a ready-made template.
Step 3: Edit your template
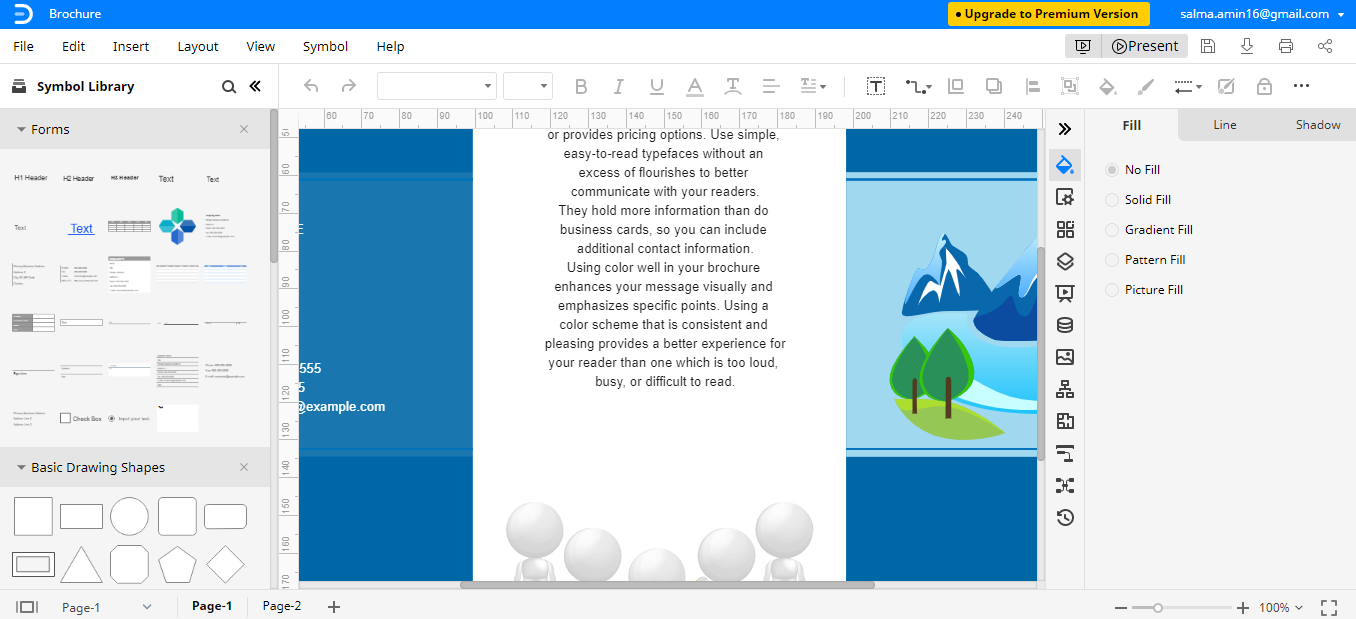
EdrawMax offers many editing and formatting tools to create custom content. You can choose infographics, charts, labels, diagrams, illustrations, and other formatting options to enhance the look of your brochure.
Moreover, you can also alter the background and add watermarks. With EdrawMax Online, you can edit and customize your brochure virtually any way you want!
How to Save an Edraw Brochure as a Common File
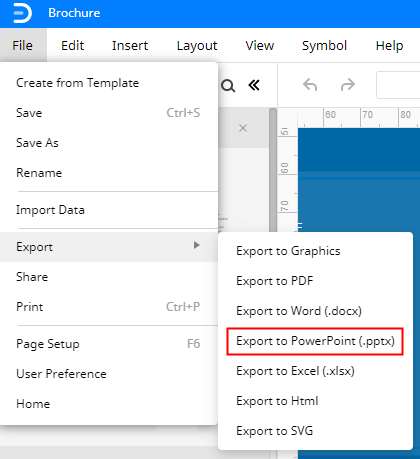
Once you have created your brochure, you can save it as a PowerPoint file. Go to the File tab and click on the Export option. Next, choose Export to PowerPoint and then save your file. Now you can view the saved file as brochure PowerPoint and share it with others.
Our guide on how to create a brochure on PowerPoint ends here!


