How to Make a Family Tree in PowerPoint
A family tree shows connections and relationships between different members based on their hereditary background. It is a simple type of chart consisting of a tree-like structure that branches down or out from the oldest to the youngest. These types of charts are common in medical fields and are studied by genealogists. Basic family trees are also part of school courses to allow children to assess and learn about their family background. If you want to make a family tree, then you can use different apps and drawing tools.
In this article today, we will tell you how you can create a family tree PowerPoint and Edraw Max in just a few easy steps.
How to Make a Family Tree in PowerPoint
Step 1 – Open MS PowerPoint
Open PowerPoint on your desktop. For this tutorial, we will use the MS PowerPoint 2013 version.
Step 2 – Open a New Slide
Once MS PowerPoint is launched, select a blank slide and open it. Click on “Ctrl + A” and then Delete to select and remove the textbox present on the slide. Now, you will have a clean slide to work on.
Step 3 – Create a Family Tree
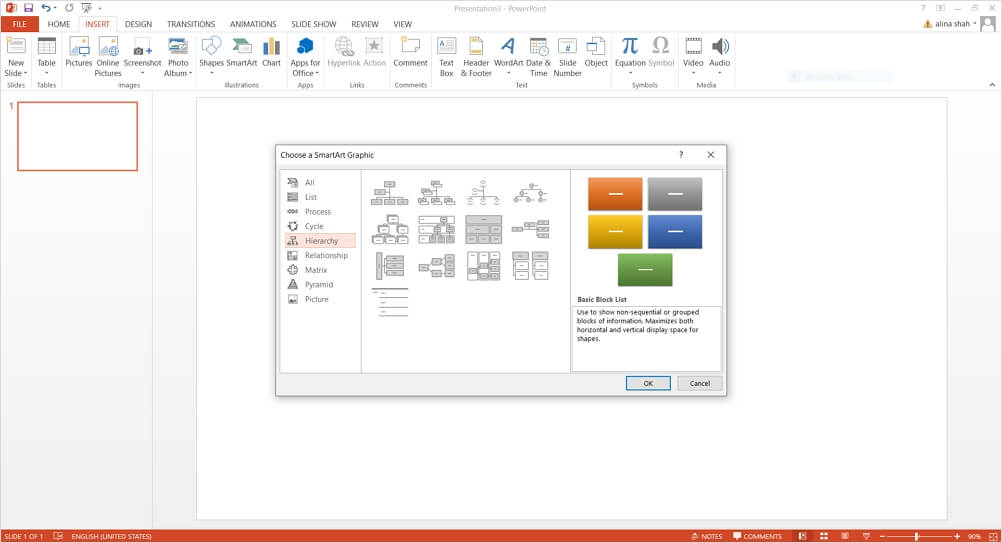
To create a family tree in PowerPoint, we will go to the “Illustrations” section in the Insert Tab and click on “SmartArt.” A popup window will appear where you will be asked to select the desired chart type. Scroll down to hereditary, select a chart, and click ok. The graph will be placed on your slide.
Step 4 – Enter Text and Edit
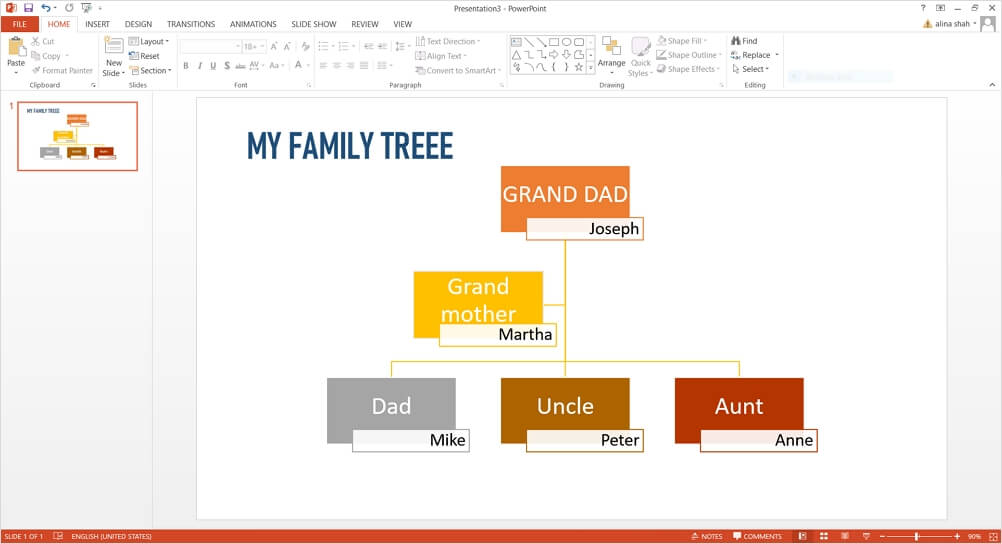
Now, enter text in the chart and edit it according to your requirements. You can use the home tab to edit fonts change color, and style. You can also add images by going to the dash section in the Insert Tab and clicking on the image. There are a few other basic tools under the Design, Animation, Transition, Home, and Insert Tab in PowerPoint, which you can also use. PowerPoint does not give you a wide range of drawing tools to play with, but it is perfect for creating a simple family tree.
Step 5 – Finalize and Save
Once the family tree in PowerPoint is complete, you can save it by clicking on save or save as options under the file tab.
With EdrawMax, You Can Make a Better One More Easily
If you want to use software that offers you more tools and features to create detailed family trees easily, then Edraw Max Online is the best. It is a versatile diagrammatic tool that allows you to create several different visual contents and offers multiple drawing tools. Some other cool features of Edraw Max Online are:
- User-friendly software – Edraw Max Online is very user-friendly software because it offers an easy-to-use interface.
- Accessibility – Edraw Max Online is accessible across different platforms such as Microsoft Windows, Linux, and Mac OS X.
- Affordable – In comparison to other premium diagram tools, Edraw Max offers affordable subscription plans at very low prices.
- Advanced tools and features – Edraw Max provides multiple tools and features suitable for all types of diagrams and industry professionals.
- Free templates – Edraw Max has hundreds of free templates that can be downloaded and easily customized.
Now that we have seen what a fantastic tool Edraw Max is let’s see how you can use it to create family trees.
Step 1 – Launch EdrawMax
Download EdrawMax or try it online for free. Log in with social media credentials like a Google account.
Step 2 – Launch Drawing Tab
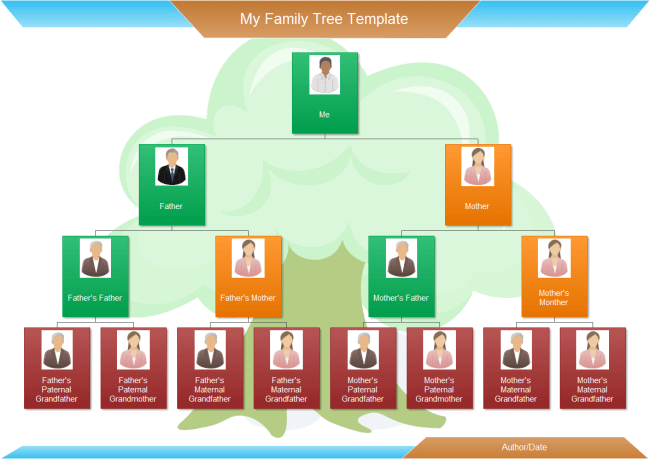
Edraw Max offers many templates for family trees, which you can use to create a family tree quickly. For this tutorial, we will select a blank template to make a family tree from scratch. It will launch a new drawing tab in the browser.
Step 3 – Make a Family Tree
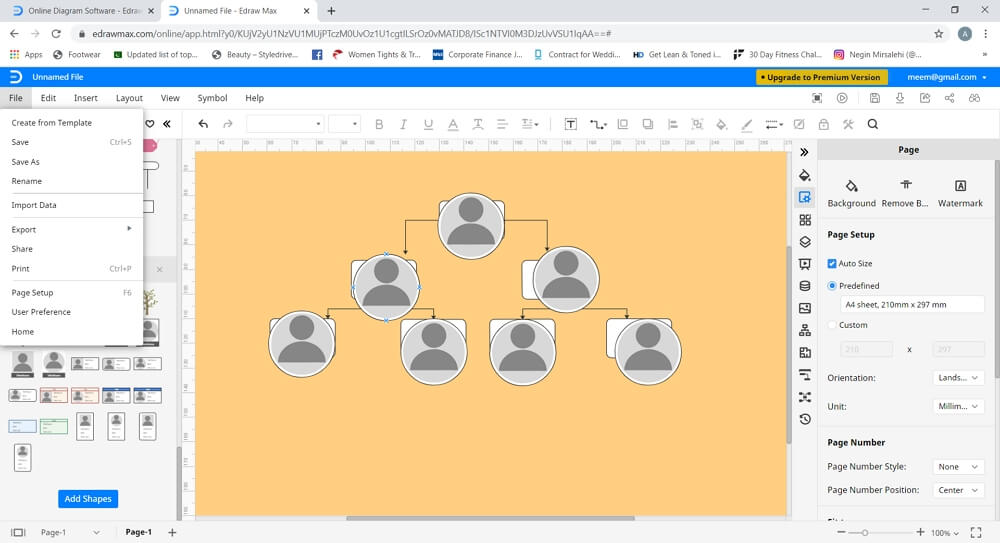
To make a family tree, you can use the Symbol Library present on the left side of the screen. Click on the icon present next to the Symbol Library and search for the family tree in the popup window. Click ok to launch family tree symbols in the symbol library. Now, you can use different shapes, lines, arrows, and family tree symbols available in the library to create a family tree from scratch.
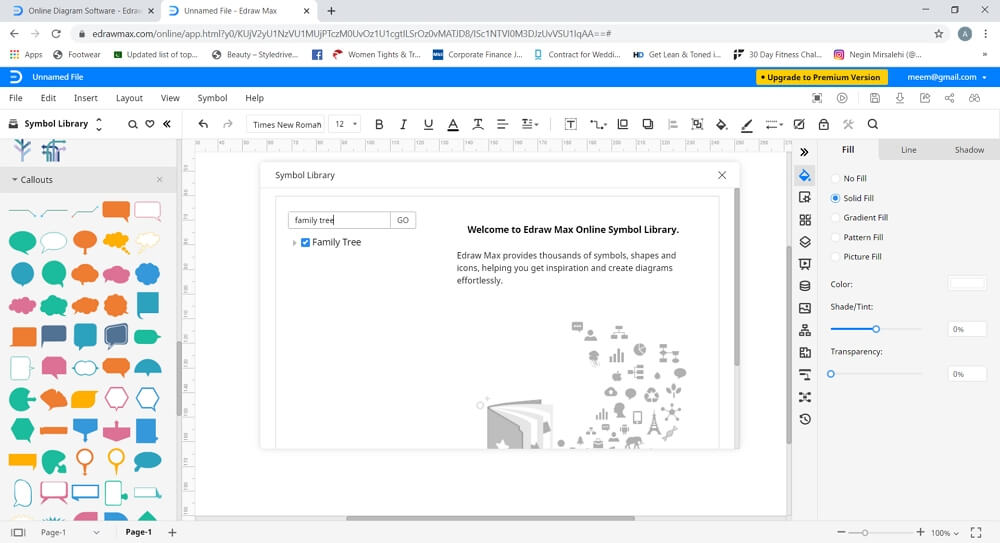
To edit different elements of your family tree further, you can use the formatting tool available on the right side of the screen. It allows you to change and adjust features like size, color, background, effects, animations, images, etc.
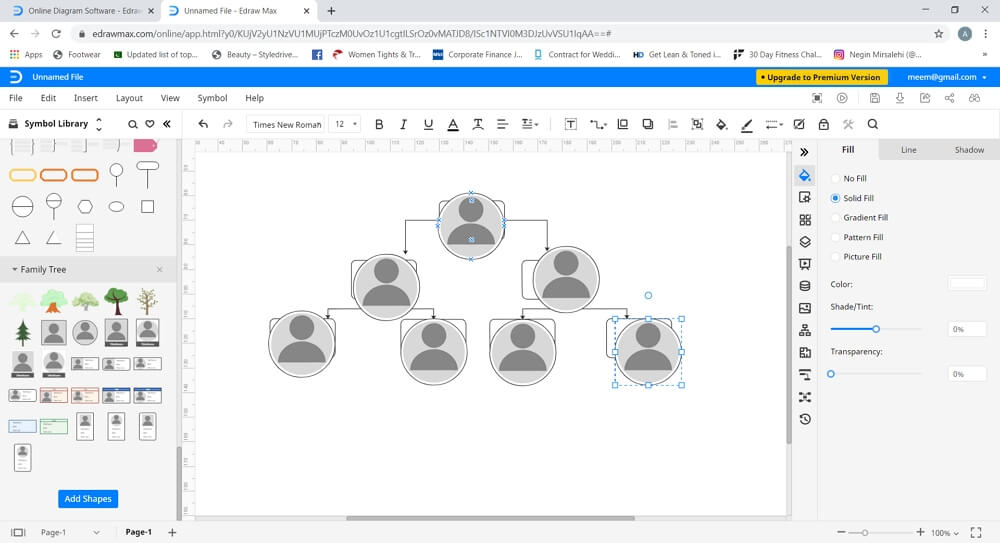
Steps 4 – Add Text and Other Details
Now, type in the text to label your family tree. You can adjust the color font and size of the text through the format tab. You can look further at images and other details to enhance your family tree.
How to Save Your Family Tree
After completing the family tree, you can save it by clicking on “Save” in the File Tab. Your file will be automatically saved on an Edraw cloud in your account. Edraw Max online also offers an “Export” feature in the File Tab, which allows you to save your document in the front common file formats such as Word, Excel, PowerPoint, PDF, etc.
You can also save your file on cloud storage services like Google Drive and Dropbox by clicking on “Save As” in the File Tab.
