Quick Guide for EdrawMax Online
Looking for some help? Here you can get quick answers and step-by-step instructions on how to use EdrawMax Online.
EdrawMax Online Guide
-
Get Started with EdrawMax Online
-
Basic Shape Operations
-
Basic Elements
-
Format
-
Insert Object
-
Page Setting
-
Document
-
How to Create an Organizational Chart
-
How to Create a Floor Plan
-
How to Create a Gantt Chart
-
How to Customize Smart Shapes
-
EdrawMax App Guide
-
Video Tutorial
Connector
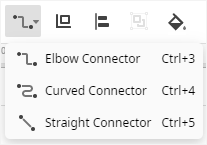
There are 3 kinds of connectors in EdrawMax, which are respectively:
- Elbow Connector
- Curved Connector
- Straight Connector
Add Connector
To add a connector between shapes, you can
- Click Connector button on the ribbon, choose the desired connector style and draw the connection line between shapes.
- Right-click on the page without selecting any shape, choose Add Connector in the context menu to draw a default right-angle connection line.
To glue an endpoint of the connector to the other shape, drag the endpoint to one of the other shape's connection points; when a red crossroad symbol appears above the connection point, release it.

Delete Connector
To delete a connector, you can
- Right-click on the connector and choose Delete in the context menu;
- Select the connector and press Delete button on the keyboard.
If you need to delete several connectors at a time, you can select one of them, then press Ctrl key and choose other connectors so that you are able to delete them together.
Adjust Connector
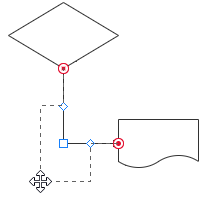
To adjust a connector, you can
- Select the connector;
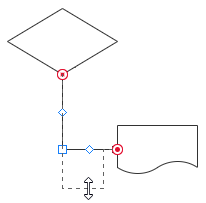
- Place the cursor on the control handles of the connection line;
- When the cursor turns into a two-way arrow or four-way arrow, drag the control handles to change the path of the connector.
 |
 |
Convert Connector
To convert connector styles, you can
- Select the connector whose style you would like to change;
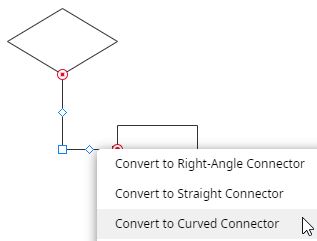
- Right-click on it and choose the desired Convert to… option in the context menu;
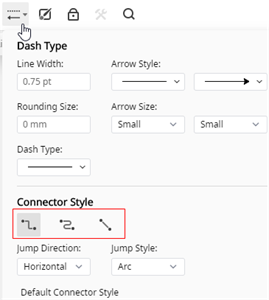
- Or click Line Style button on the ribbon, go to Connector Style and choose the desired connector style.
