How to Create an Org Chart in Google Docs
An organizational chart is used to show the relationships between members of a company, an organization, a group of people or a family. Creating an org chart in Google Docs can make it easier to share information across your organization.
How to Create an Organizational Chart in Google Docs
Step 1: Open a Blank Page
Enter into your Google Docs and click to open a blank page for creating an org chart. Because there are no pre-made org chart templates or examples in Google Docs, you have to start from scratch.
Step 2: Open the Drawing Window
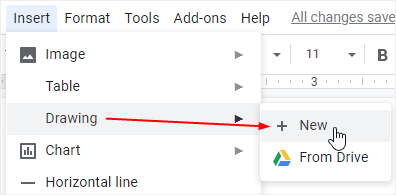
Go to the Insert tab, choose Drawing > New on the drop-down menu to open the Drawing window. Then you are able to make your own org chart on the drawing window.
Step 3: Start to Draw Your Org Chart
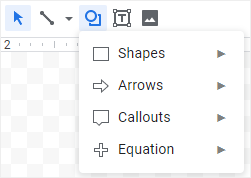
On the Drawing window, you can use the inbuilt shapes and connectors (the Line button next to the Shape button) to make your org chart in Google Docs.
But, before that, you’d better sort out the information of the organization, such as the employee’s name, title, department, and email address. With the information, you can start to draw your org chart on the google docs page.
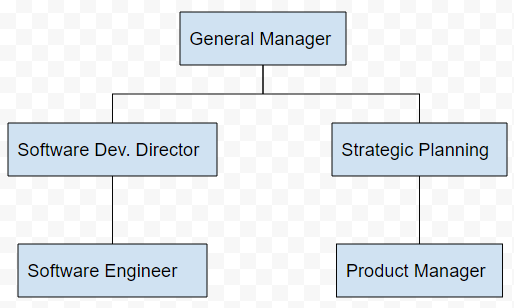
Here, you can see the example org chart that I made in Google Docs. When you create the org chart in Google Docs, you can add more information on the shape and insert more shapes on the drawing page to make your org chart look complete.
Creating a basic and simple org chart in Google Docs is easy and possible. However, it will be a huge challenge for both you and Google Docs to make a complicate org chart. At that time, you should seek a professional org chart maker and let it help you work more efficiently.
How to Create an Org Chart in EdrawMax
Step 1: Find an Org Chart Template
Go to Edraw Templates, and choose your desired org chart template from the template gallery. You can find different types of org charts there and download them on your computer.
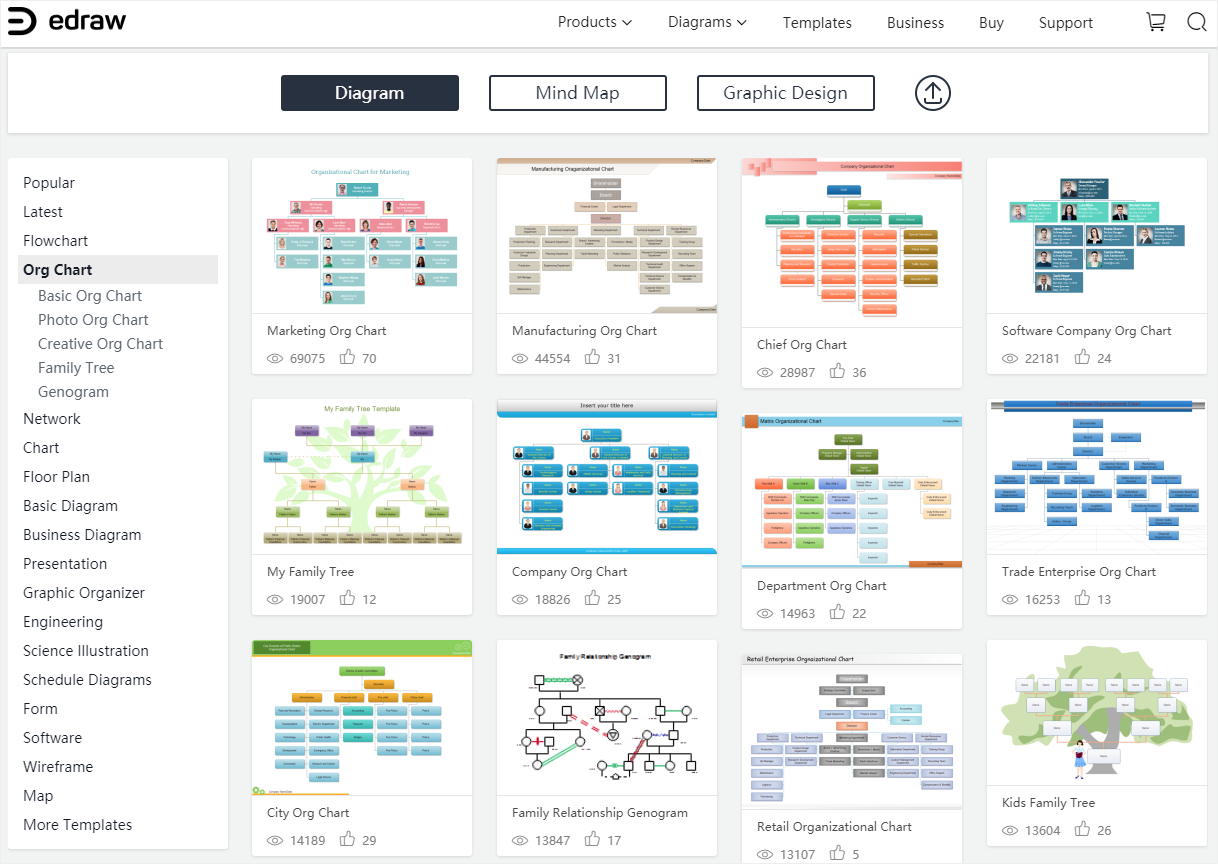
Then you can enable EdrawMax, click Import on the Home page and the application will open the template.
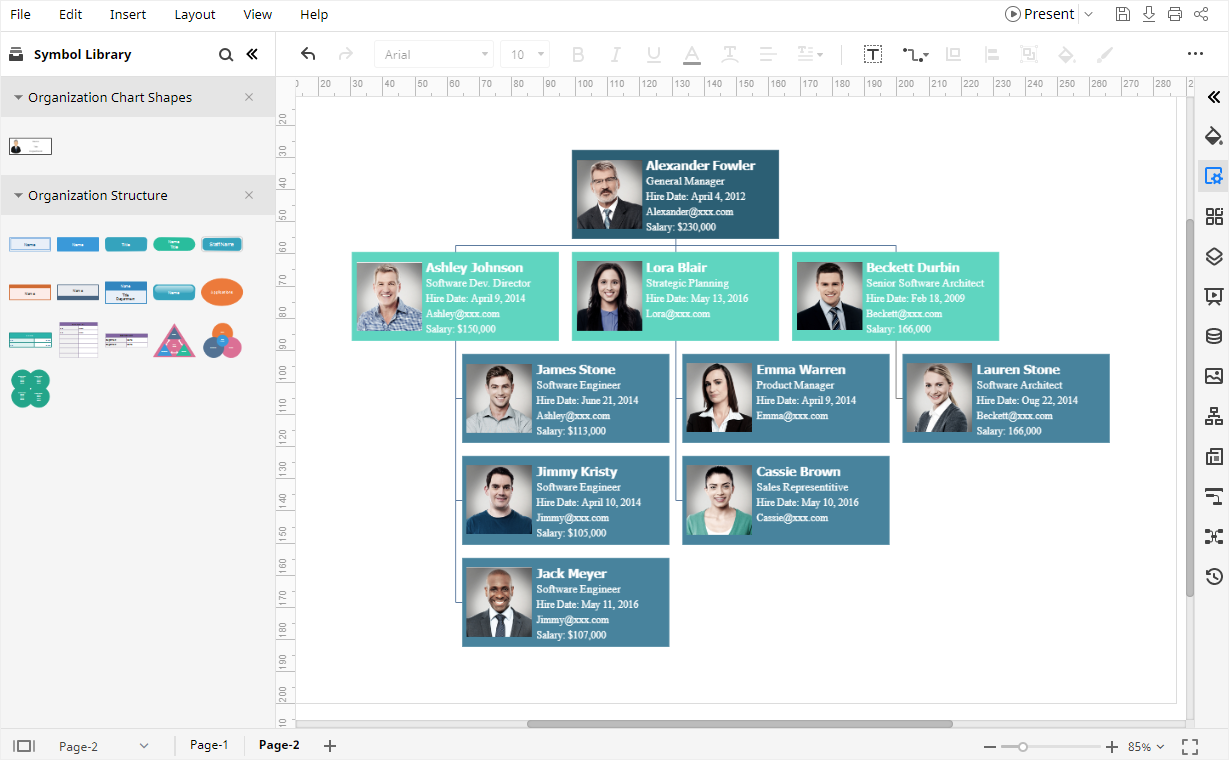
Step 2: Import Your Org Chart Data
If you already have sorted out the data of making the org chart in a worksheet or CSV file, you can also import the data into EdrawMax and the application will generate an org chart for you automatically.
Open a blank org chart template, go to the File tab, click Import Data on the drop-down menu and the Import Data dialog box will show up.
Click the Org Chart icon, and you will see the Data Import Wizard is open. Then you need to find the data file in your computer and follow the instruction on the Wizard to import the data.
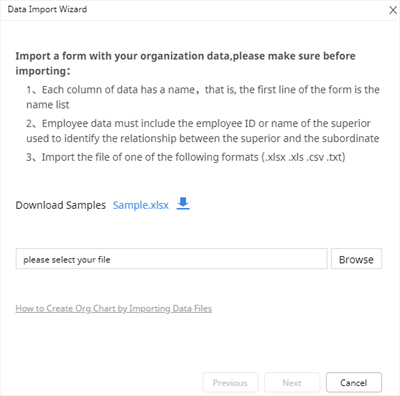
Note: You can download the sample data file and see how to organize and record the information of the company and employees.
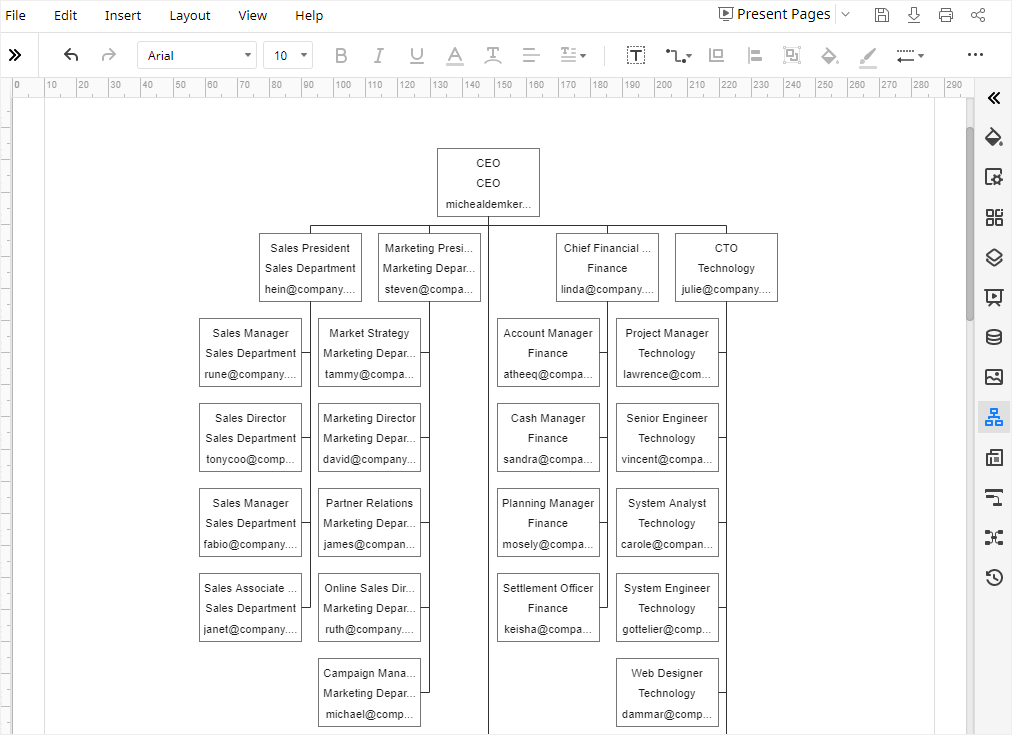
Here, I follow the instructions and make an org chart. It looks like:
Step 3: Customize Your Org Chart
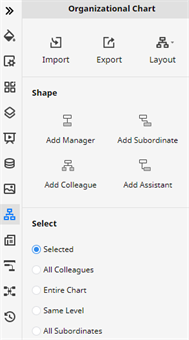
Click the Org Chart icon ![]() on the right sidebar and open the Organizational Chart pane. You can import data, export the org chart or change the layout of the chart. Besides, you can also add shapes for the selected shape, including Manager, Subordinate, Colleague and Assistant.
on the right sidebar and open the Organizational Chart pane. You can import data, export the org chart or change the layout of the chart. Besides, you can also add shapes for the selected shape, including Manager, Subordinate, Colleague and Assistant.
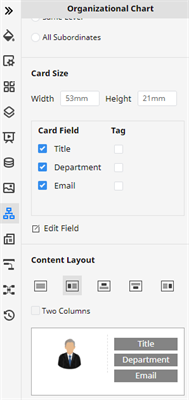
If you want to modify the information shown on the selected shape or the content layout, the Org Chart pane also provides the corresponding options for users. Now you can make your own org chart as quickly and richly as you can.
How to Save an Org Chart as Word File
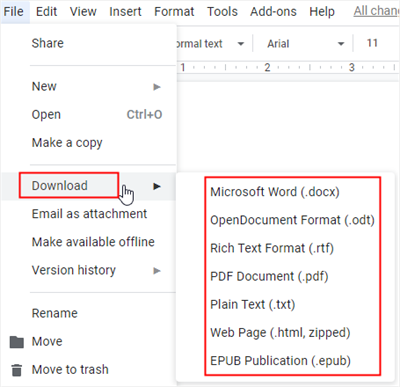
When you have created an org chart in Google Docs, you can go to the File tab, click Download on the drop-down menu and choose Microsoft Word, PDF Document or Web Page to save your org chart in different file formats.
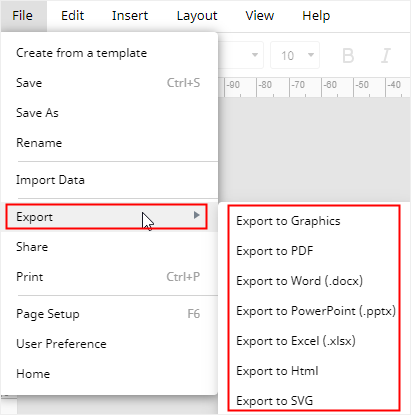
In EdrawMax, you are also able to save and export your org chart in many common file formats. Go to the File tab, click Export and pick the desired exporting format. When you click Save As on the menu, you can choose to save your org chart in your personal Edraw cloud, Google Drive or Dropbox in the Save As window.
