How to Make a Poster on Google Docs
A poster is a significant promotion or advertisement for an idea, event, place, or product to gain the attention of the public. Poster designs include both graphic and textual elements and need to be informative. Moreover, posters are always eye-catching so that they can attract the desired audience. They are widely used in our day-to-day life, and we see them all around us; for example, in schools to announce an event, in shops to promote the annual sale, in public rallies to endorse a social movement, etc. There are many online tools available to make a poster design at home. One such tool is Google Docs!
Today, we will tell you how to make a poster on Google Docs quickly and easily.
How to Make a Poster on Google Docs
Step 1: Open Google Docs
Open Google Docs in your Chrome browser.
Step 2: Select Blank Page
Once Google Docs has loaded, select a blank page.
Step 3: Open Drawing Page
Under the Insert tab to launch a drop-down menu. Now, select “drawing” and click on “+New” to open the drawing sheet.
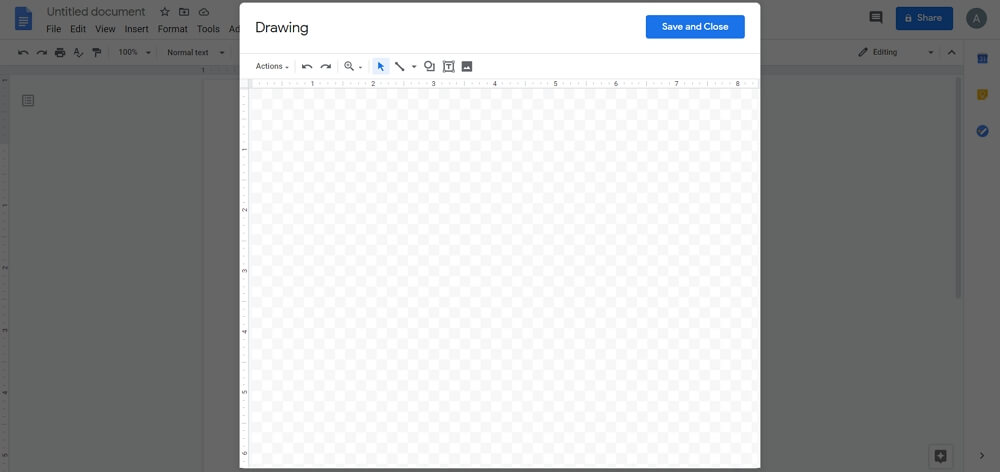
Step 4: Design Poster
With the help of the tools available in the drawing sheet, we will start designing the poster. Go to the shapes icon and click on it to select the rectangle shape. Add a large rectangle on your page.
Now, add text in the rectangle. By using the different formatting tools, you can change the style, size, color, background, and alignment. You can also add images using the “insert image option”.
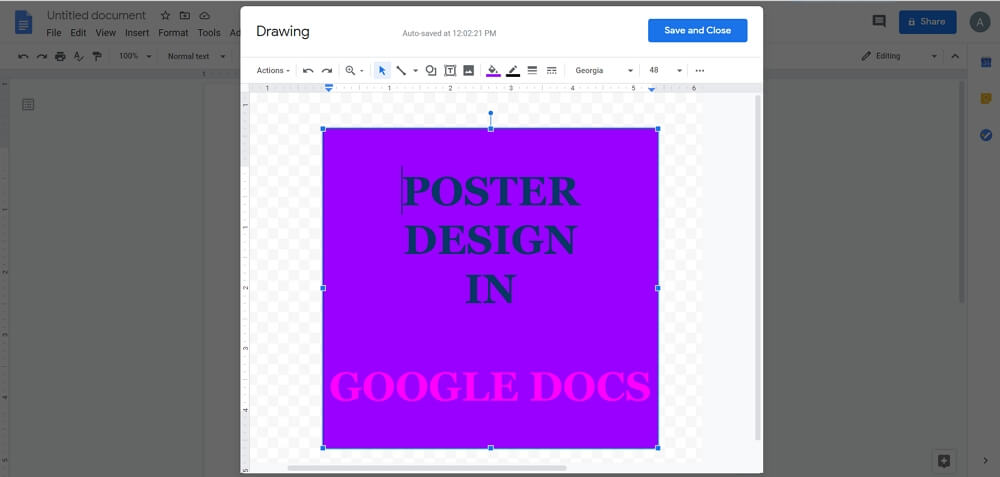
Step 5: Save
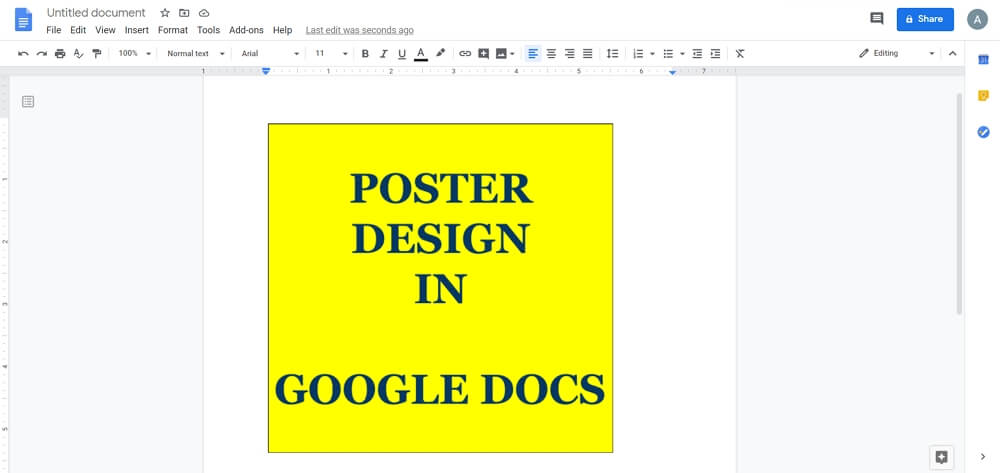
When you have completed your poster, click on the File tab to save it.
Make a Poster in EdrawMax - Easier and Faster
Google Docs has limited tools and features to create visual content. However, the most efficient and effective tool to create detailed posters online for free is Edraw Max. You can use this graphic tool to learn how to make a poster on Google docs. You can make posters here using predesigned templates, symbols, and other visual elements. Here is a step-by-step guide for how to make a poster using Edraw Max.
Step 1: Open EdrawMax
Open EdrawMax and log in with social media credentials.
Step 2: Select Blank Template
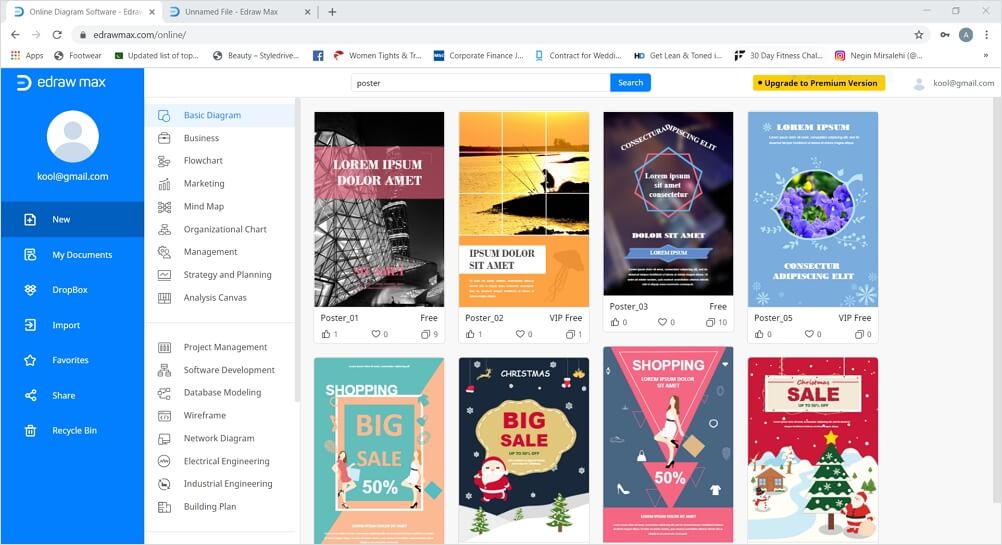
Write “Poster” in the search tab to load different poster templates. For this tutorial, we will use a blank page to create posters from scratch.
Step 3: Open a New Template
Once your drawing tab has opened, you will see a symbol library and formatting tools on the right side of the screen. You can also use the Insert tab, Edit tab, Layout tab, and Symbol tab in the menu ribbon to edit your poster.
Step 4: Design Poster
To design your poster, select the rectangle shape from Symbol Library by selecting and dragging it onto the canvas. To adjust the size of the shape, drag its corners.
Now, add text and color. To add colors, go to the formatting pane and select any color of your choice from the fill section. Use illustrations, images, shapes, or basic drawing shapes to add more graphic content to your poster. Just select the one you want, drag it towards the drawing sheet and place it on the desired spot.
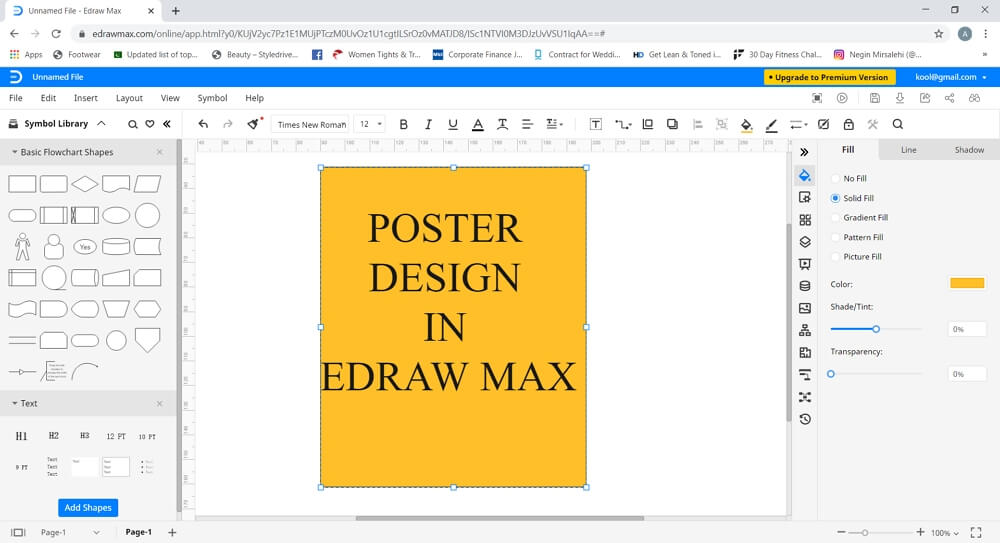
Edraw Max offers a vast symbol library, which you can use to add other visual elements on your poster. Search for more symbols by launching the Symbol Library and scrolling down to General. Now you can select different symbols from Graphs and Charts, Clip Art, Fashion Design, People, Icons, Education, Festival, Design Element, etc.
Keep editing until you are happy with how the poster looks.
How to Save and Export Your Poster
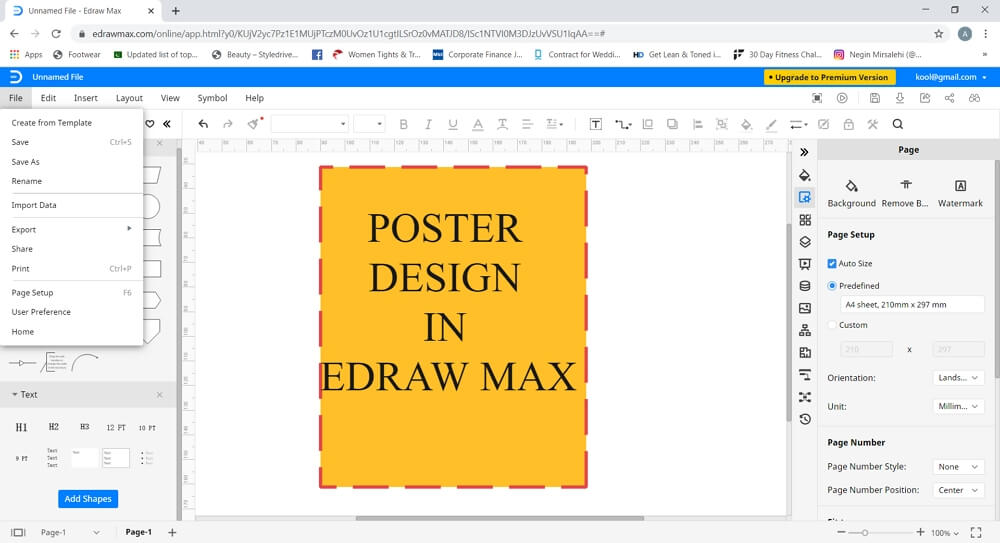
Another useful feature of Edraw Max is that it allows you to have different saving options to store the file. It has an excellent “save and export” feature to store files in local storage and cloud storage like Google Drive and Dropbox. Edraw Max also allows you to “export” your document in different commonly used file types like Word, PowerPoint, Excel, PDF, Graphics, etc.
To conclude, Edraw Max Online will make you create stunning posters from scratch or with the help of pre-made templates easily.


